I am overjoyed to have been renewed a Microsoft Most Valuable Professional (MVP) for the 5th time in #Azure. It is an absolute honour to be recognised for the technical fraternity’s contributions.
In today’s world, where data is the new currency, the Internet of Things (IoT) has become a major game-changer. The Internet of Things involves connecting devices, machines, and sensors to the internet, allowing them to communicate with each other and with cloud-based applications. Microsoft’s Azure IoT Hub and Azure Central are two powerful platforms that enable organizations to harness the power of IoT. In this blog post, we’ll take a closer look at these two platforms and provide examples of how they can be used.
Azure IoT Hub
Azure IoT Hub is a fully managed service that enables secure and reliable communication between IoT devices and cloud-based applications. It provides a highly scalable and flexible solution for managing millions of IoT devices and processing their data. Here are some examples of how Azure IoT Hub can be used:
Smart Homes and Buildings
By using Azure IoT Hub, smart home and building solutions can be implemented that allow residents to control and monitor various aspects of their home or building, such as lighting, temperature, security, and energy usage. This data can be processed and analyzed to improve energy efficiency and reduce costs.
Industrial IoT
Industrial IoT involves the use of IoT devices in manufacturing, supply chain, and logistics. By using Azure IoT Hub, manufacturing companies can monitor their production lines in real-time, enabling them to identify bottlenecks and optimize their operations. Logistics companies can use Azure IoT Hub to track the movement of their goods and vehicles in real-time, improving supply chain efficiency and reducing costs.
Azure Central
Azure Central is a single-pane-of-glass management solution that provides a unified view of an organization’s resources across different cloud environments. It allows organizations to manage and monitor their resources and applications across different Azure environments, including Azure Government, Azure Commercial, and Azure China. Here are some examples of how Azure Central can be used:
Multi-Cloud Management
By using Azure Central, organizations can manage their resources and applications across multiple cloud environments, reducing complexity and improving efficiency. For example, a company might have some applications in Azure Commercial and others in Azure Government. Azure Central provides a unified view of all these resources, enabling them to be managed and monitored from a single console.
Compliance and Security
Azure Central provides a centralized location for managing compliance and security across different cloud environments. It allows organizations to set policies and enforce compliance across their resources, reducing the risk of security breaches and ensuring that regulatory requirements are met.
Conclusion
In conclusion, Azure IoT Hub and Azure Central are two powerful platforms that enable organizations to harness the power of IoT and manage their resources across different cloud environments. By using these platforms, organizations can improve their efficiency, reduce costs, and achieve greater agility. With proper planning and execution, organizations can unlock the full potential of these platforms and drive innovation in their businesses.
Migrating to Azure can provide many benefits for organizations, including increased scalability, flexibility, and cost-effectiveness. However, performing the migration without any downtime can be a challenging task. In this blog post, we’ll discuss some tips and best practices for ensuring a successful Azure migration with zero downtime.
Planning and Preparation
The first step in any successful migration is careful planning and preparation. Here are some key considerations:
Identify the applications and workloads that need to be migrated and their dependencies.
Establish a migration timeline, including testing and cutover windows.
Determine the migration approach, such as lift-and-shift, re-platforming, or a complete rewrite.
Ensure that the Azure environment is configured properly, including network and security settings.
Establish a rollback plan in case of any issues.
Replication and Testing
Once the planning and preparation are complete, the next step is to replicate and test the applications and workloads in the Azure environment. This can be achieved through the following steps:
Replicate the data and applications to Azure using a migration tool or service.
Verify that the replicated applications and data are functioning correctly in the Azure environment.
Conduct thorough testing to ensure that the applications and data are working as expected, and there are no compatibility issues.
Cutover and Monitoring
The final step is to perform the cutover and monitoring. Here are some best practices for a successful cutover:
Set up a cutover window during off-peak hours to minimize disruption to users.
Update DNS records to point to the new Azure environment.
Monitor the cutover process to ensure that there are no issues and that the applications are functioning correctly.
Once the cutover is complete, conduct additional testing to ensure that the applications are working as expected.
Implement a monitoring solution to ensure that the Azure environment is performing optimally and that any issues are quickly identified and resolved.
Conclusion
In conclusion, a successful Azure migration and integration with zero downtime requires careful planning, thorough testing, and effective monitoring. By following the best practices outlined above, organizations can migrate their applications and workloads to Azure without any disruption to their business operations.
It’s also important to remember that every migration is different, and each organization’s needs and requirements will be unique. It’s essential to work closely with a trusted partner who has extensive experience in Azure migration to ensure a successful outcome. With proper planning and execution, an Azure migration can provide significant benefits for organizations, enabling them to achieve greater agility, scalability, and cost-efficiency.
As more and more organizations adopt the cloud for their business needs, it becomes increasingly important to establish a governance model that ensures security, compliance, and optimal usage of cloud resources. Microsoft Azure provides a comprehensive set of tools and services to enable organizations to implement a robust governance model that meets their specific needs.
In this blog post, we’ll discuss the various components of Azure Governance Model, including policies, management groups, and role-based access control (RBAC).
Policies
Azure policies are a powerful tool for defining and enforcing rules for the use of Azure resources. They allow you to specify conditions that must be met before a particular resource can be created or modified. For example, you can define a policy that requires all virtual machines to use disk encryption or restricts the types of virtual machine images that can be deployed.
Policies are created using JSON files that specify the rules and conditions that must be met. They can be applied at the management group or subscription level and can be assigned to specific resource groups, allowing you to granularly control the use of Azure resources.
Management Groups
Management groups provide a hierarchical structure for organizing your Azure resources. You can create management groups to reflect your organizational structure, with each group representing a department or business unit. Within each management group, you can create subscriptions and apply policies that are specific to that group.
One of the key benefits of using management groups is the ability to inherit policies from a higher-level group. This means that policies applied to a parent management group will automatically apply to all child groups and subscriptions. This simplifies the process of managing policies, as you can define them once and have them automatically apply to all relevant resources.
Role-Based Access Control (RBAC)
Role-based access control (RBAC) is a fundamental component of Azure governance model, providing a way to manage access to Azure resources. RBAC enables you to grant specific permissions to users, groups, or applications, allowing them to perform specific actions on Azure resources. You can create custom roles that define specific permissions and assign them to users or groups, or use one of the built-in roles that are provided by Azure.
RBAC is applied at the subscription or resource group level, and allows you to control access to specific resources and actions. By using RBAC, you can ensure that users have the appropriate level of access to perform their job duties while limiting access to sensitive resources.
Conclusion
In conclusion, Azure Governance Model is a comprehensive set of tools and services that enable organizations to implement a robust governance model that meets their specific needs. Policies, management groups, and RBAC are the key components of Azure Governance Model, providing a way to enforce rules, organize resources, and manage access to resources.
By implementing a strong governance model, organizations can ensure that their cloud resources are secure, compliant, and used optimally. Azure provides a flexible and powerful platform that can be customized to meet the specific needs of any organization, making it an ideal choice for organizations of all sizes.
Another architect, a friend of mine, requested me for assistance with Change Data Capture with Data Brick. I assisted him and realized it might be valuable to others as well, so I decided to share the architecture with the team.
The Delta change data feed represents row-level changes between versions of a Delta table. When enabled on a Delta table, the runtime records “change events” for all the data written into the table. This includes the row data along with metadata indicating whether the specified row was inserted, deleted, or updated.
Create a silver table that contains a list of addresses
We are going to use this table to simulate appends and update commands that are common for transactional workloads.
%sql
CREATE OR REPLACE TEMPORARY VIEW updates
as
select 11 primaryKey, "A updated address" as address, true as current, "2021-10-27" as effectiveDate, null as endDate
union
select 99 primaryKey, "A completely new address" as address, true as current, "2021-10-27" as effectiveDate, null as endDate;

SELECT * FROM updates;

primaryKey
address
current
effectiveDate
endDate
1
2
11
A updated address
true
2021-10-27
null
99
A completely new address
true
2021-10-27
null
Showing all 2 rows.

We want to merge the view into the silver table. Specifically if the address already exists we want to set the endDate of the old record to be the effectiveDate of the new address record and change the flag for the current column to false. We then want to append the new update address as a brand new row. For completely new addresses we want to insert this as a new row.

%sql
MERGE INTO cdf.silverTable as original USING (
  select
    updates.primaryKey as merge,
    updates.*
  FROM
    updates
  UNION ALL
  SELECT
    null as merge,
    updates.*
  FROM
    updates
    INNER JOIN cdf.silverTable original on updates.primaryKey = original.primaryKey
  where
    original.current = true
) mergedupdates on original.primaryKey = mergedUpdates.merge
WHEN MATCHED
and original.current = true THEN
UPDATE
set
  current = false,
  endDate = mergedupdates.effectiveDate
  WHEN NOT MATCHED THEN
INSERT
  *

num_affected_rows
num_updated_rows
num_deleted_rows
num_inserted_rows
1
3
1
0
2
Showing all 1 rows.

%sql
select * from cdf.silverTable

primaryKey
address
current
effectiveDate
endDate
1
2
3
4
5
11
A updated address
true
2021-10-27
null
11
A new customer address
false
2021-10-27
2021-10-27
12
A different address
true
2021-10-27
null
13
A another different address
true
2021-10-27
null
99
A completely new address
true
2021-10-27
null
Showing all 5 rows.

%sql
describe history cdf.silverTable

version
timestamp
userId
userName
operation
operationParameters
job
notebook
1
2
3
4
3
2022-03-26T00:16:51.000+0000
428915142038362
guanjie.shen@databricks.com
MERGE
{"predicate": "(original.`primaryKey` = mergedupdates.`merge`)", "matchedPredicates": "[{\"predicate\":\"(original.`current` = true)\",\"actionType\":\"update\"}]", "notMatchedPredicates": "[{\"actionType\":\"insert\"}]"}
null
{"notebookId": "4233158071160993"}
2
2022-03-26T00:16:43.000+0000
428915142038362
guanjie.shen@databricks.com
WRITE
{"mode": "Append", "partitionBy": "[]"}
null
{"notebookId": "4233158071160993"}
1
2022-03-26T00:16:39.000+0000
428915142038362
guanjie.shen@databricks.com
SET TBLPROPERTIES
{"properties": "{\"delta.enableChangeDataFeed\":\"true\"}"}
null
{"notebookId": "4233158071160993"}
0
2022-03-26T00:16:36.000+0000
428915142038362
guanjie.shen@databricks.com
CREATE TABLE
{"isManaged": "true", "description": null, "partitionBy": "[]", "properties": "{}"}
null
{"notebookId": "4233158071160993"}
Showing all 4 rows.

%sql
select * from table_changes('cdf.silverTable',2,3) order by _commit_timestamp desc

primaryKey
address
current
effectiveDate
endDate
_change_type
_commit_version
_commit_timestamp
1
2
3
4
5
6
7
11
A updated address
true
2021-10-27
null
insert
3
2022-03-26T00:16:51.000+0000
11
A new customer address
true
2021-10-27
null
update_preimage
3
2022-03-26T00:16:51.000+0000
11
A new customer address
false
2021-10-27
2021-10-27
update_postimage
3
2022-03-26T00:16:51.000+0000
99
A completely new address
true
2021-10-27
null
insert
3
2022-03-26T00:16:51.000+0000
11
A new customer address
true
2021-10-27
null
insert
2
2022-03-26T00:16:43.000+0000
13
A another different address
true
2021-10-27
null
insert
2
2022-03-26T00:16:43.000+0000
12
A different address
true
2021-10-27
null
insert
2
2022-03-26T00:16:43.000+0000
Showing all 7 rows.

%python
changes_df = spark.read.format("delta").option("readChangeData", True).option("startingVersion", 2).option("endingversion", 3).table('cdf.silverTable')
display(changes_df)

primaryKey
address
current
effectiveDate
endDate
_change_type
_commit_version
_commit_timestamp
1
2
3
4
5
6
7
11
A updated address
true
2021-10-27
null
insert
3
2022-03-26T00:16:51.000+0000
11
A new customer address
true
2021-10-27
null
update_preimage
3
2022-03-26T00:16:51.000+0000
11
A new customer address
false
2021-10-27
2021-10-27
update_postimage
3
2022-03-26T00:16:51.000+0000
99
A completely new address
true
2021-10-27
null
insert
3
2022-03-26T00:16:51.000+0000
11
A new customer address
true
2021-10-27
null
insert
2
2022-03-26T00:16:43.000+0000
13
A another different address
true
2021-10-27
null
insert
2
2022-03-26T00:16:43.000+0000
12
A different address
true
2021-10-27
null
insert
2
2022-03-26T00:16:43.000+0000
Showing all 7 rows.

Generate Gold table and propagate changes
In some cases we may not want to show each data at the transaction level, and want present to users a high level aggregate. In this case we can use CDF to make sure that the changes are propaged effieciently without having to merge large amounts of data

%sql DROP TABLE IF EXISTS cdf.goldTable;
CREATE TABLE cdf.goldTable(
  primaryKey int,
  address string
) USING DELTA;
OK
%sql
-- Collect only the latest version for address
CREATE OR REPLACE TEMPORARY VIEW silverTable_latest_version as
SELECT *
    FROM
         (SELECT *, rank() over (partition by primaryKey order by _commit_version desc) as rank
          FROM table_changes('silverTable',2,3)
          WHERE _change_type ='insert')
    WHERE rank=1;

SELECT * FROM silverTable_latest_version

primaryKey
address
current
effectiveDate
endDate
_change_type
_commit_version
_commit_timestamp
rank
1
2
3
4
11
A updated address
true
2021-10-27
null
insert
3
2022-03-26T00:16:51.000+0000
1
12
A different address
true
2021-10-27
null
insert
2
2022-03-26T00:16:43.000+0000
1
13
A another different address
true
2021-10-27
null
insert
2
2022-03-26T00:16:43.000+0000
1
99
A completely new address
true
2021-10-27
null
insert
3
2022-03-26T00:16:51.000+0000
1
Showing all 4 rows.

%sql
-- Merge the changes to gold
MERGE INTO cdf.goldTable t USING silverTable_latest_version s ON s.primaryKey = t.primaryKey
        WHEN MATCHED THEN UPDATE SET address = s.address
        WHEN NOT MATCHED THEN INSERT (primarykey, address) VALUES (s.primarykey, s.address)

num_affected_rows
num_updated_rows
num_deleted_rows
num_inserted_rows
1
4
0
0
4
Showing all 1 rows.

%sql
SELECT * FROM cdf.goldTable

primaryKey
address
1
2
3
4
11
A updated address
12
A different address
13
A another different address
99
A completely new address
Showing all 4 rows.

Example that Combines Snapshots with Change Data Feed
Create an intial dataset and save this as a Delta table.
This will be source table we'll use to propogate changes downstream.

%sql DROP TABLE IF EXISTS cdf.example_source;
countries = [("USA", 10000, 20000), ("India", 1000, 1500), ("UK", 7000, 10000), ("Canada", 500, 700) ]
columns = ["Country","NumVaccinated","AvailableDoses"]

spark.createDataFrame(data=countries, schema = columns).write \
                .format("delta") \
                .mode("overwrite") \
                .option("userMetadata", "Snapshot Example 1") \
                .saveAsTable("cdf.example_source") \

streaming_silverTable_df = spark.read.format("delta").table("cdf.example_source")
streaming_silverTable_df.show()
%sql
SET spark.databricks.delta.commitInfo.userMetadata =;
ALTER TABLE cdf.example_source SET TBLPROPERTIES (delta.enableChangeDataFeed = true)
%sql
SET spark.databricks.delta.commitInfo.userMetadata =;
UPDATE cdf.example_source SET NumVaccinated = 1000, AvailableDoses = 200 WHERE COUNTRY = 'Canada';
UPDATE cdf.example_source SET NumVaccinated = 2000, AvailableDoses = 500 WHERE COUNTRY = 'India';

SELECT * FROM cdf.example_source
%sql
describe history cdf.example_source
Let's do a few more operations...

%sql
DELETE FROM cdf.example_source where Country = 'UK';
SELECT * FROM cdf.example_source;
%sql
SET spark.databricks.delta.commitInfo.userMetadata =;
INSERT into cdf.example_source
SELECT "France" Country, 7500 as NumVacinated, 5000 as AvailableDoses;
UPDATE cdf.example_source SET NumVaccinated = 1200, AvailableDoses = 0 WHERE COUNTRY = 'CANADA';

SELECT * FROM cdf.example_source
%sql
SET spark.databricks.delta.commitInfo.userMetadata =Snapshot Example 2;
INSERT into cdf.example_source
SELECT "Mexico" Country, 2000 as NumVacinated, 1000 as AvailableDoses;

SELECT * FROM cdf.example_source
Let's set up what the workflow might look like for a consumer.
This will first retrieve a point in time snapshot of the source table, then starts subscribing to incremental updates using Spark Structured Streaming and CDF.

Cleanup
%sql
DROP TABLE IF EXISTS cdf.example_source;
DROP TABLE IF EXISTS cdf.example_sink;
Despite the fact that it was not planned, I was invited to participate in the Canadian Global Power Platform Bootcamp 2022, and I thoroughly enjoyed sharing my Azure and Azure migration experience.
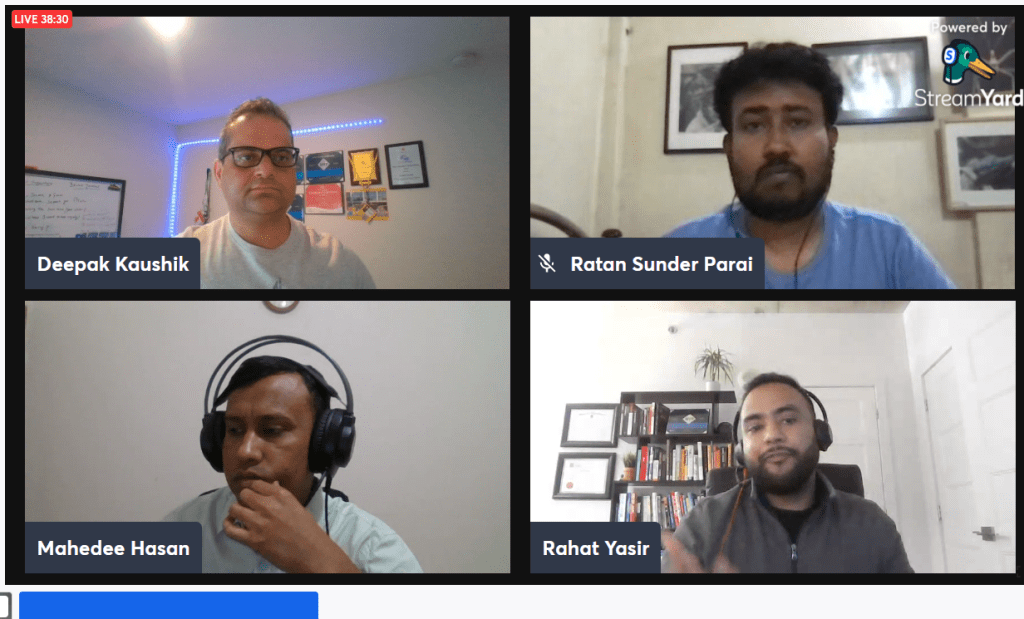
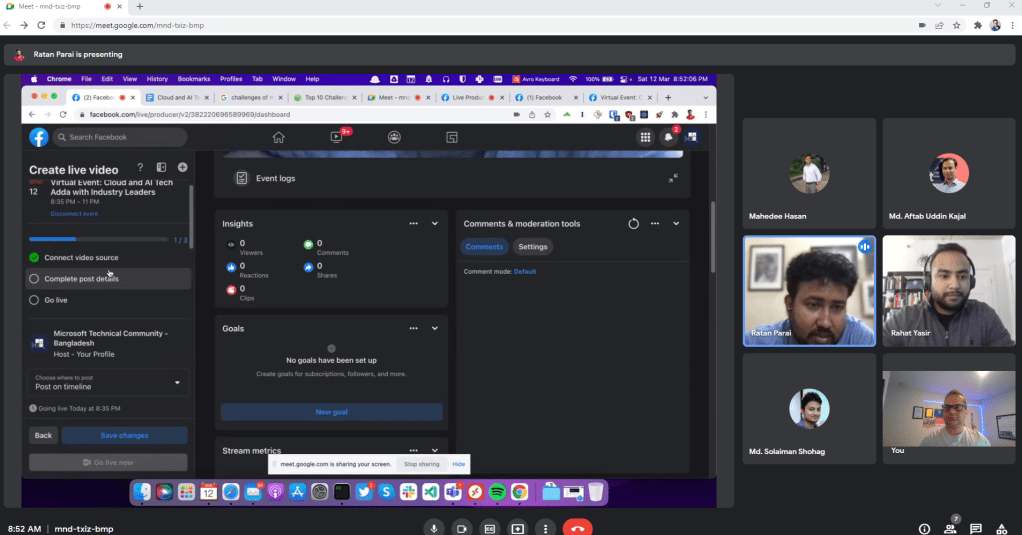
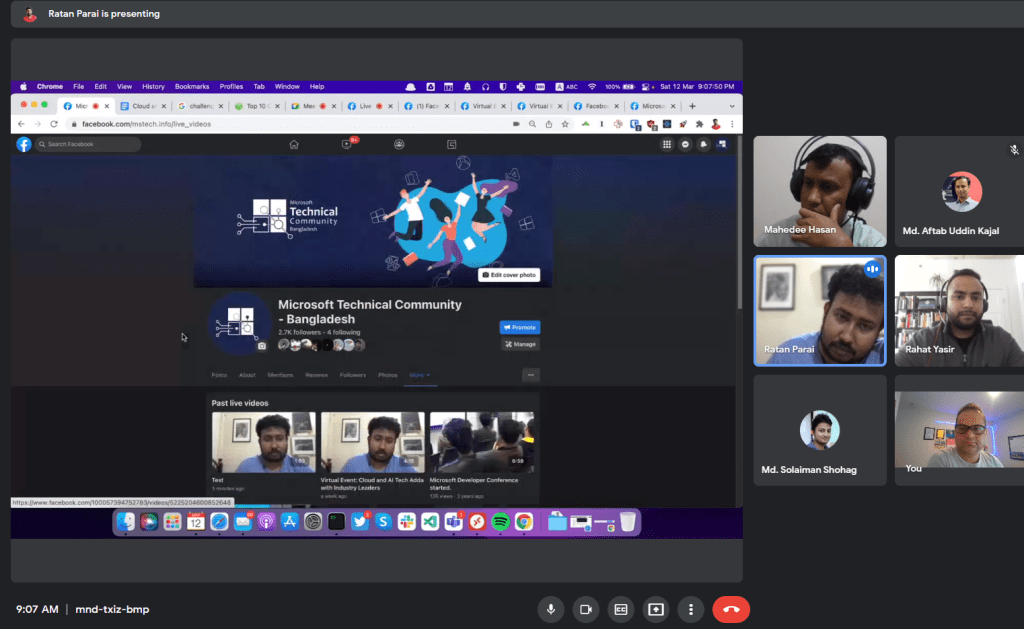
You won’t want to miss this demo-focused session with industry experts in Azure and AI. Let’s get together and learn how Azure and AI Model
About this event
Let’s take a look at a demo to better understand Azure’s well-architected framework. We will walk through the five pillars of the Azure Well-Architected Framework and conclude with a live demo to demonstrate the functionality.
In this session we will see a live demo to deploy, test and host an AI model trained in Azure machine learning or, any other platform. We will also show options to configure a ML cluster with ACI and AKS. We will also talk about data drift option in AML to monitor production inferencing.